As I’m still writing stuff that brings us up to current (stay tuned for Project #5) and still ignoring the breaks
I have to reiterate, I’m still not hating on John (the guy I bought the car from), but there were a lot of little things that needed work. When I picked up the car, it had already been warmed up and being that it was a warm day, it stayed warm until I got it home and had to start it in the morning.

As my family started to pour over the car and ask questions, I was quick to notice that the male (inside) sections of both rear seat belts were missing, misc light bulbs were burnt out, the dash lights didn’t work and the vacuum assist was not hooked up to the distributor. Most of these were easy fixes, though the dashboard will have to wait for a later update. (It was bigger than expected)
Though I had already installed the EFI (ordered it the day after purchasing the car), one of the reasons I had ordered it was that the car was cold to start, didn’t idle well all of the time and stalled for various reasons. I had receipts for getting the carburetor tuned 4 times within 24 months, so though I thought I was solving the problem with EFI, the fact that we still had issues was no surprise.
If you built the system or you knew the system, troubleshooting is pretty easy. You know where to look. If you don’t, sometimes its easier to simply unplug everything and start re-assembly. In a world of stepper motors and electrical connections, we forget that in the 1960s, many systems were controlled by vacuum. This includes the gear changes on the transmission, heater controls inside the car and the trunk release. Poor John paid a well known Kirkland company to adjust the carburetor 4 times in 2 years when all they really needed to do is find the vacuum leak. In this case it was everywhere.
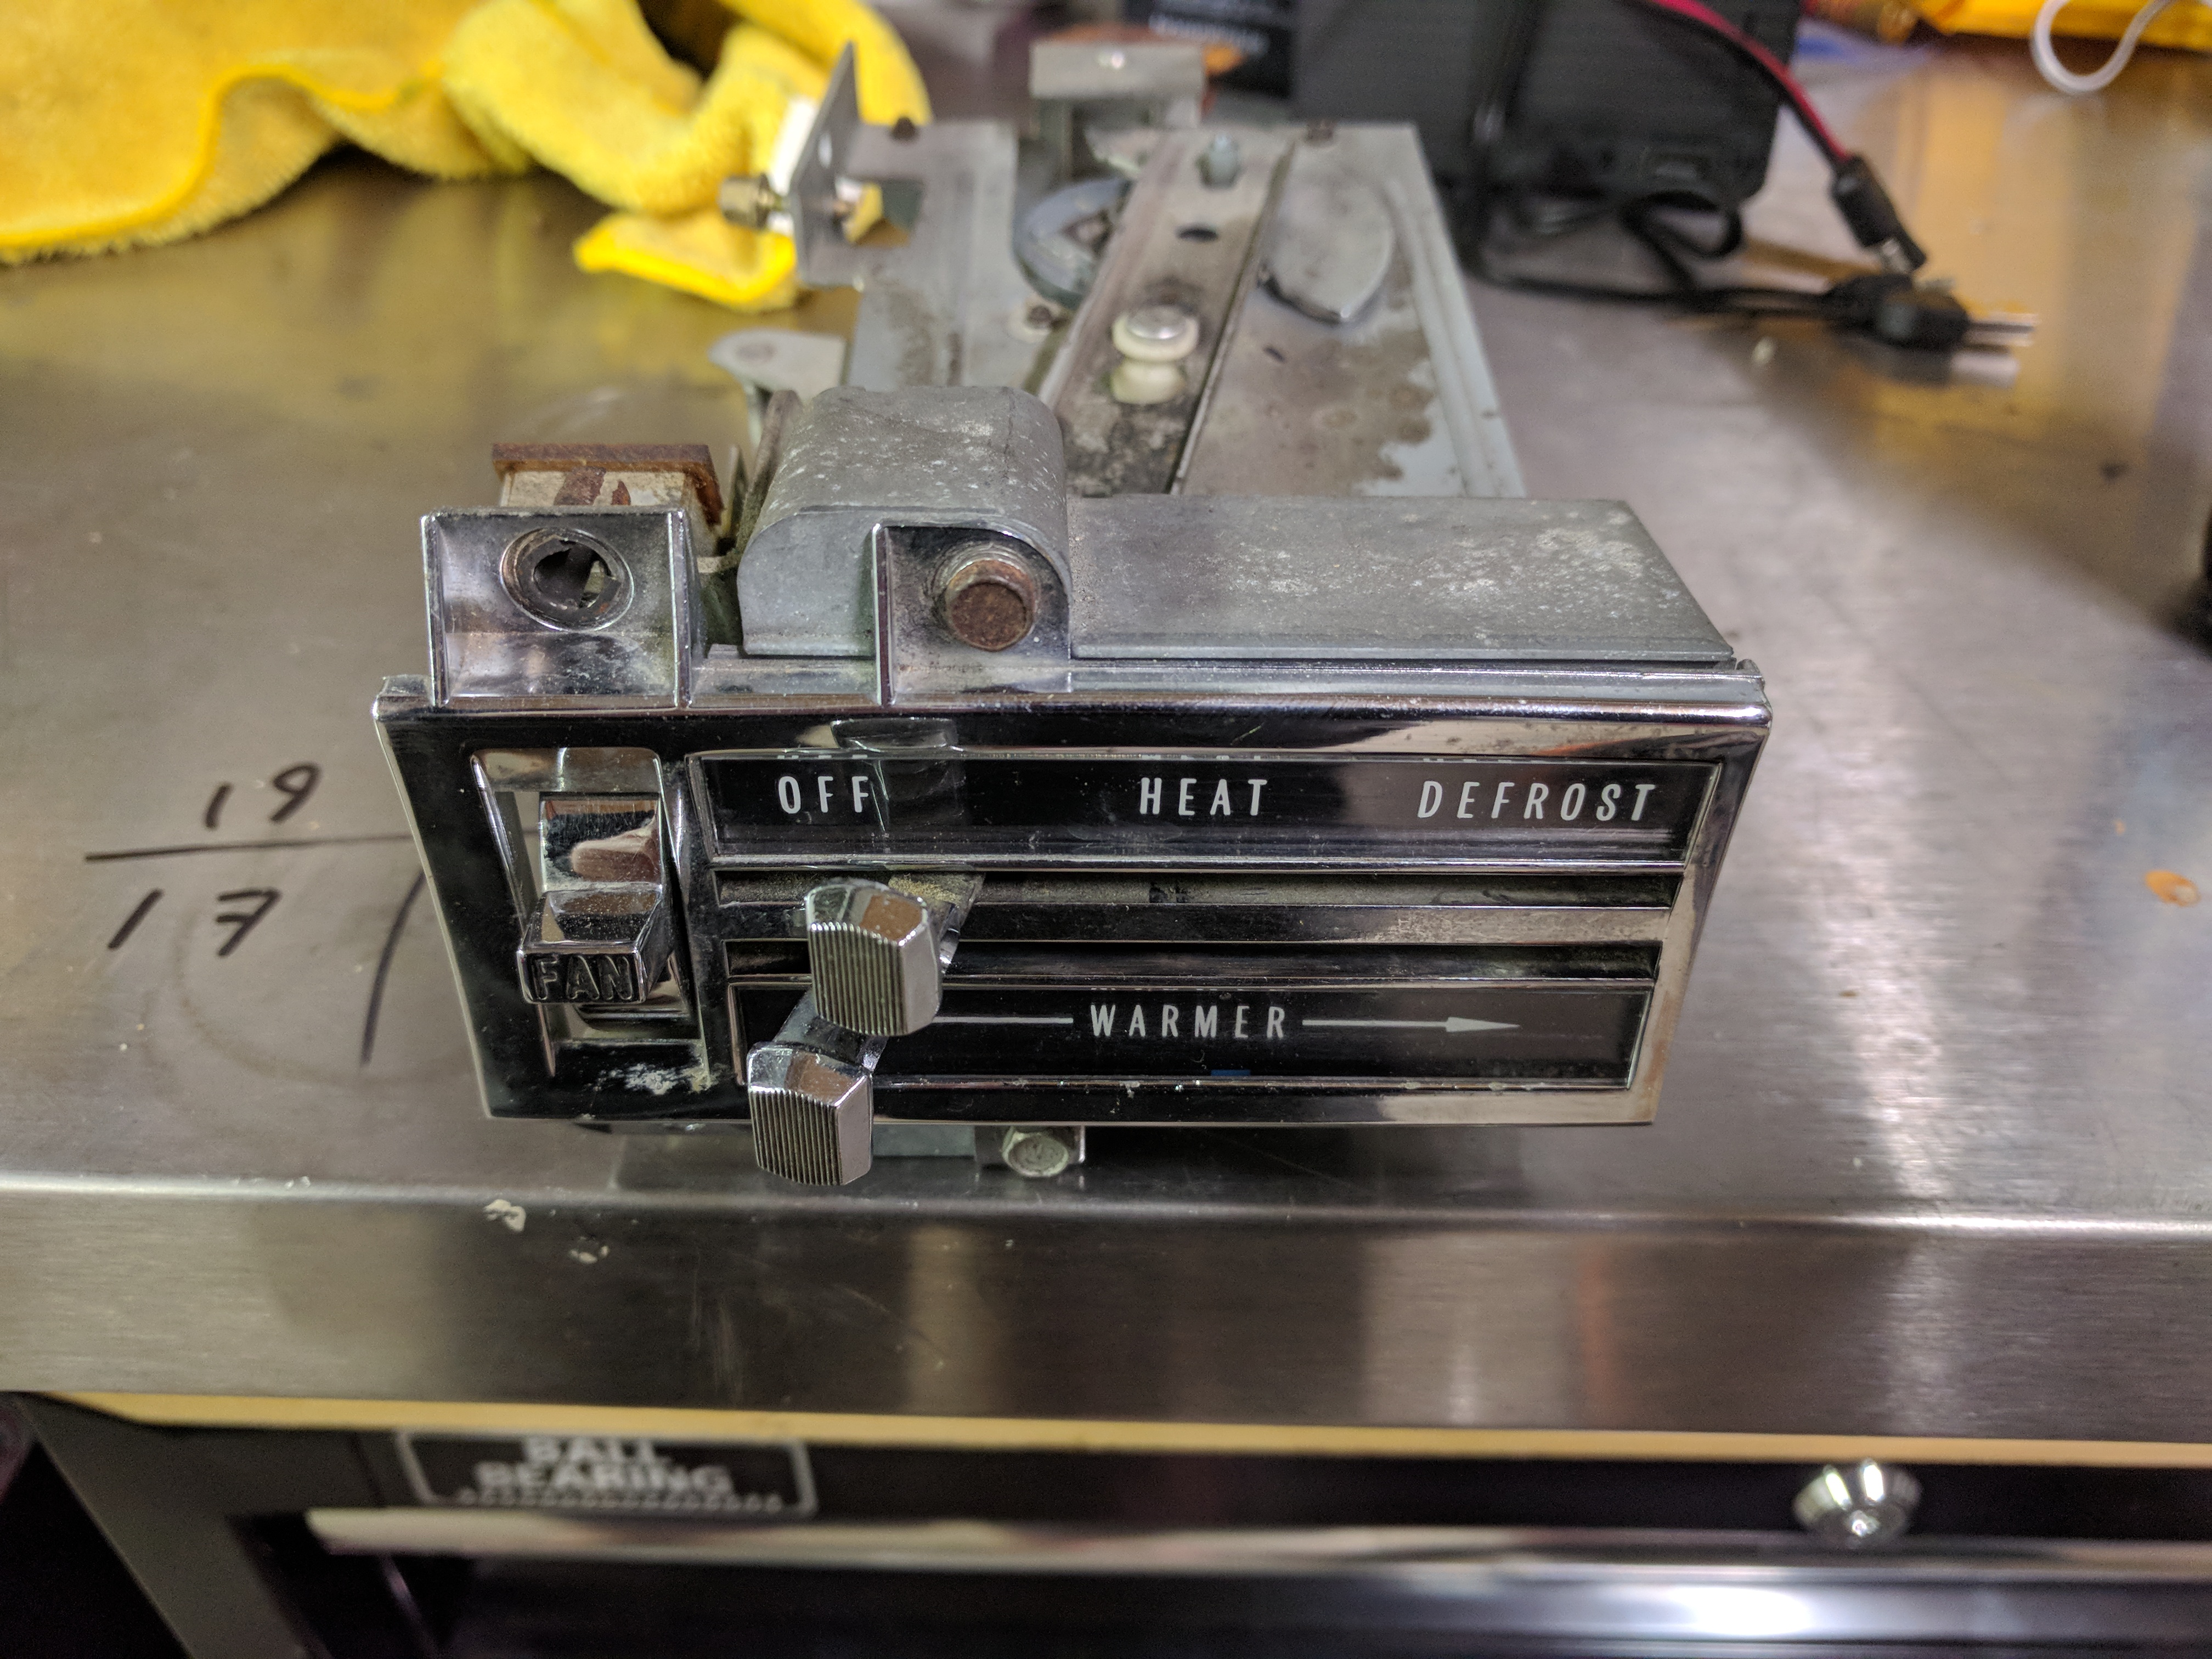
Vacuum leak in the heater control
Though the transmission was not connected, this was an easy fix as the hose was still connected to the carburetor (and now my EFI throttle body (TB)) and just hanging next to the transmission. The more difficult one to find was the heater control. The TB had a small vacuum line T’ed with the one that was suppose to go to the transmission and ran into the firewall. Tracing the hose to the heater control switch and testing the diaphragms that open and close for heat, I decided to pull the heater control. What we found was that when the heat or the defrost was on, the system held vacuum. When the heater was OFF, there was a wide open vacuum leak. In other words, if you want the car to run right in the summer time, better turn on the heat! 😁 The switch has since been fixed, but is still sitting on the bench and so the vacuum line is just plugged off. The car now does not have a vacuum leak, but also has no heat on those cold days.


Don’t play Wack-A-Mole
Having fixed (temporarily) the vacuum leak, I started to look at the distributor vacuum advance. Like many things, this is a religious debate within the hot rodding world. The reality is that if your not drag racing and you understand what it does, you will hook it up. (learn more here)
Of course, once you hook it up, you realize that you need to adjust the timing. Then you look at your check list and see that you need to fix an oil leak and the heater core is leaking. That oil leak happens to be the intake manifold and now you have to tear the distributor back out so that you can remove the manifold. You get the manifold back in, re-install the distributor, start to time the car and realize you don’t understand timing well enough because everything you learned was based on initial time and not total timing. The car runs overly hot due to retarded ignition and pops a hole in your headers. This story goes on and on and on for a few more weeks.
I love project cars, bikes and the nature of it. I love to learn, but this hobby can be costly if this is how your learning. Thankfully I can afford some of it and I have not burned too much money, though I have burnt plenty of time.
If you do something like this, pay for a full inspection from someone that understands the type of project you want to undertake. This will give you the check list and ask the inspector for advice on the order in which to resolve the issues.
In a perfect world, order of operation might look something like this
- Fluid leaks first! (this includes brakes)
- Vacuum leaks
- Ignition
- Exhaust leaks
- Brakes
- Drive it and evaluate everything else
- Fluid leaks first! (this includes brakes)
- Vacuum leaks
- Ignition
- Exhaust leaks
- Brakes
- Drive it and evaluate everything else
On that note, we have pretty much caught up to the current day. Stay tuned for upcoming projects on the Green Devil~le (which may or may not include fixing the brakes) 😜